
Southern Illinois

Little Grand Canyon
STATS
Milage/hours from Chicagoland: ballpark 320 miles / 4-6 hours
Trip days: 4
Passengers: 2 adults, 1 child, 1 dog
Accommodations: rented cabin via VRBO, https://www.vrbo.com/1304135
Important: please make sure that you’re hiking with the essentials - plenty of water for each person, trail food, first aid, a flashlight, and a map. Something else that we do before every hike is that we make sure to contact my sister - she knows where we are, what trail we’re doing, how long the trail is, and when she can expect to hear from us again - it’s important that someone knows where you are, especially when you’re in areas of low to no cell reception. And when you’re done hiking - always do a full body check for ticks.

Giant City State Park
Day 1: Giant City State Park, Illinois, map
Hikes we did:
Giant City Trail (1 mile - moderate)
Stonefort Trail (1/3 mile - moderate)
Trillium Trail (2 miles - rugged)
We drove straight to Giant City State Park before checking into our VRBO.
Maps for each trail are linked to the trail name above.
Giant City State Park: Giant City Trail
1 mile, moderate
Iconic trail from this state park, takes you around and then weaves you in and out of the large rock formations for which this park is known.


Giant City State Park: Stonefort Trail
1/3 mile, moderate
Takes you up to a recreation of a historic stone wall. I was like meh, Mike enjoyed it. I must have been unimpressed - I don’t have any photos of the “wall” itself.


Giant City State Park: Trillium Trail
2 miles, rugged
Least trafficked trail of the three that we did. The trailhead is easy to miss - we accidently drove past it out of the park and had to turn around to find it. All of us enjoyed this trail. FYI: There is a section of steep stairs.


Day 2: First stop - Little Grand Canyon
Hike we did:
Little Grand Canyon Trail (3 miles - rugged)
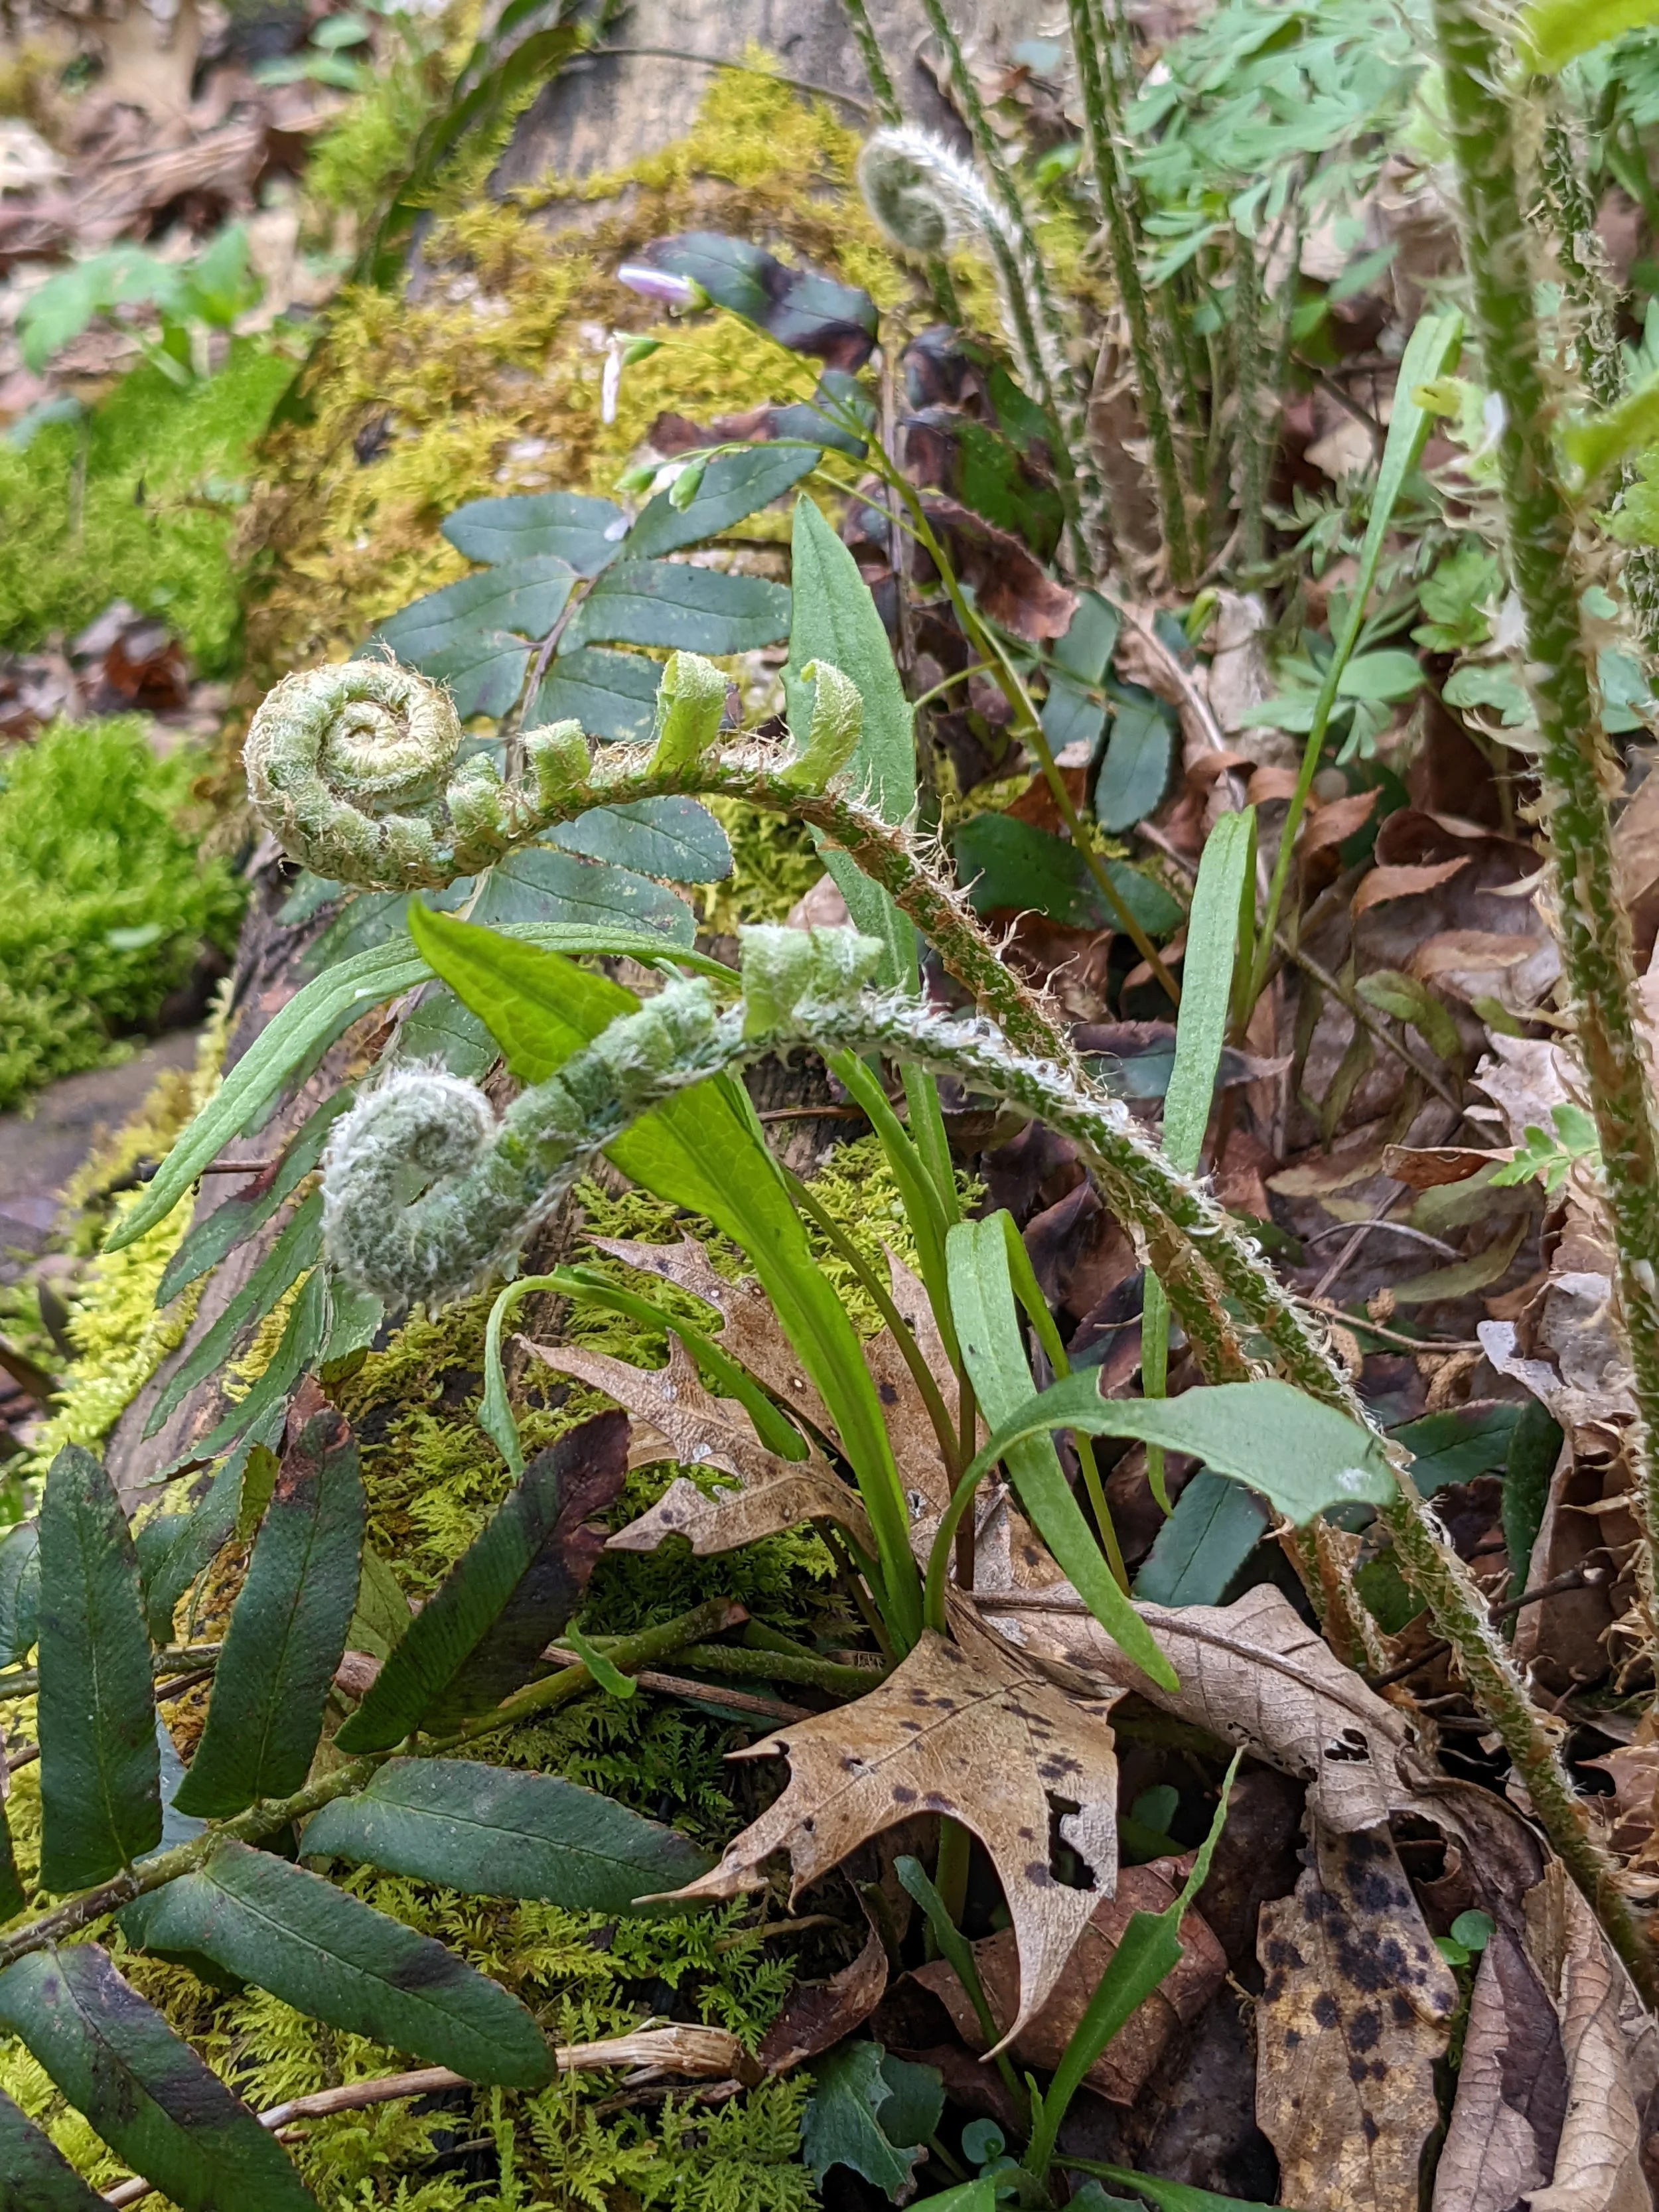
Little Grand Canyon Trail
3 miles, rugged
This trail ranks as one of our top 5 trails ever. We all LOVED it. We opted to hike it going counterclockwise - if memory serves some folks on AllTrails were suggesting that direction. Personally, I can see arguments for going in either direction:
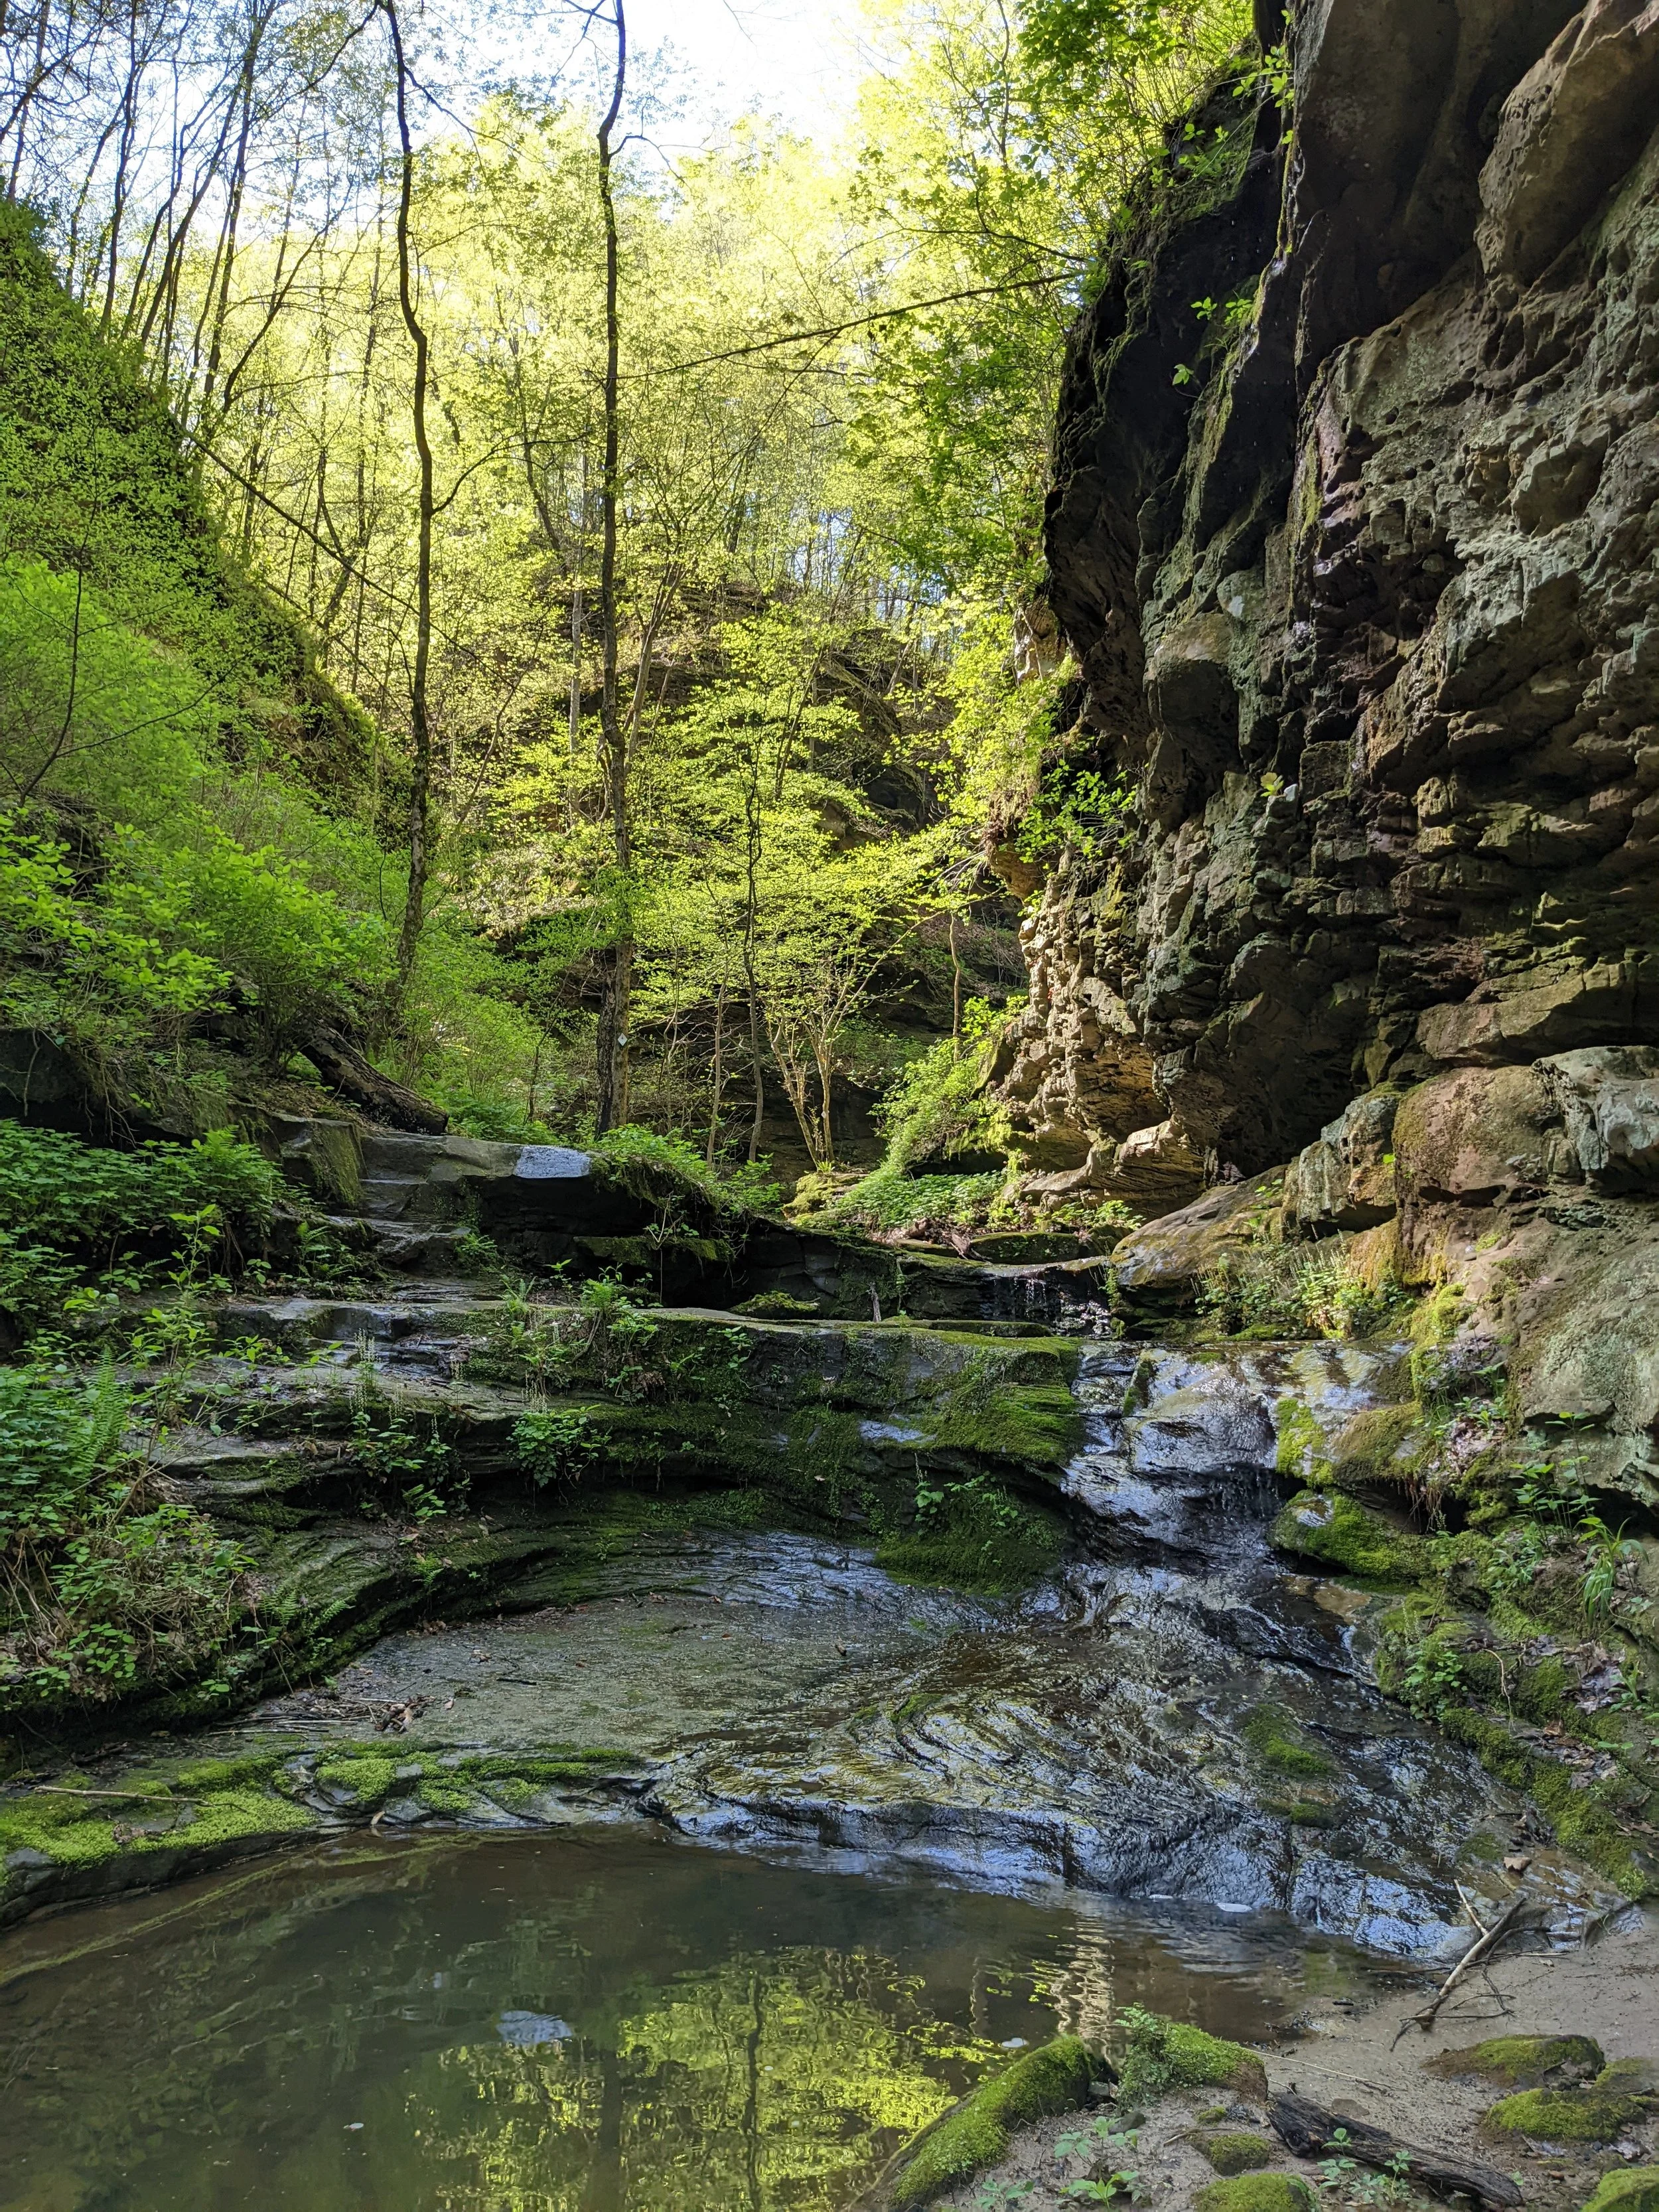
If you go counterclockwise, you have a 0.8 mile hike down to the first waterfall, which you will hike down to get into the canyon, you’ll hike through the canyon floor, and then back up the second waterfall, and then have a 2 mile hike mostly uphill back to the parking lot. I think I appreciated the 2 miles through the forest at the end less because the more interesting part of the hike was already behind us.
So if you go clockwise, you go mostly downhill for 2 miles before you get to the waterfalls and canyon floor.
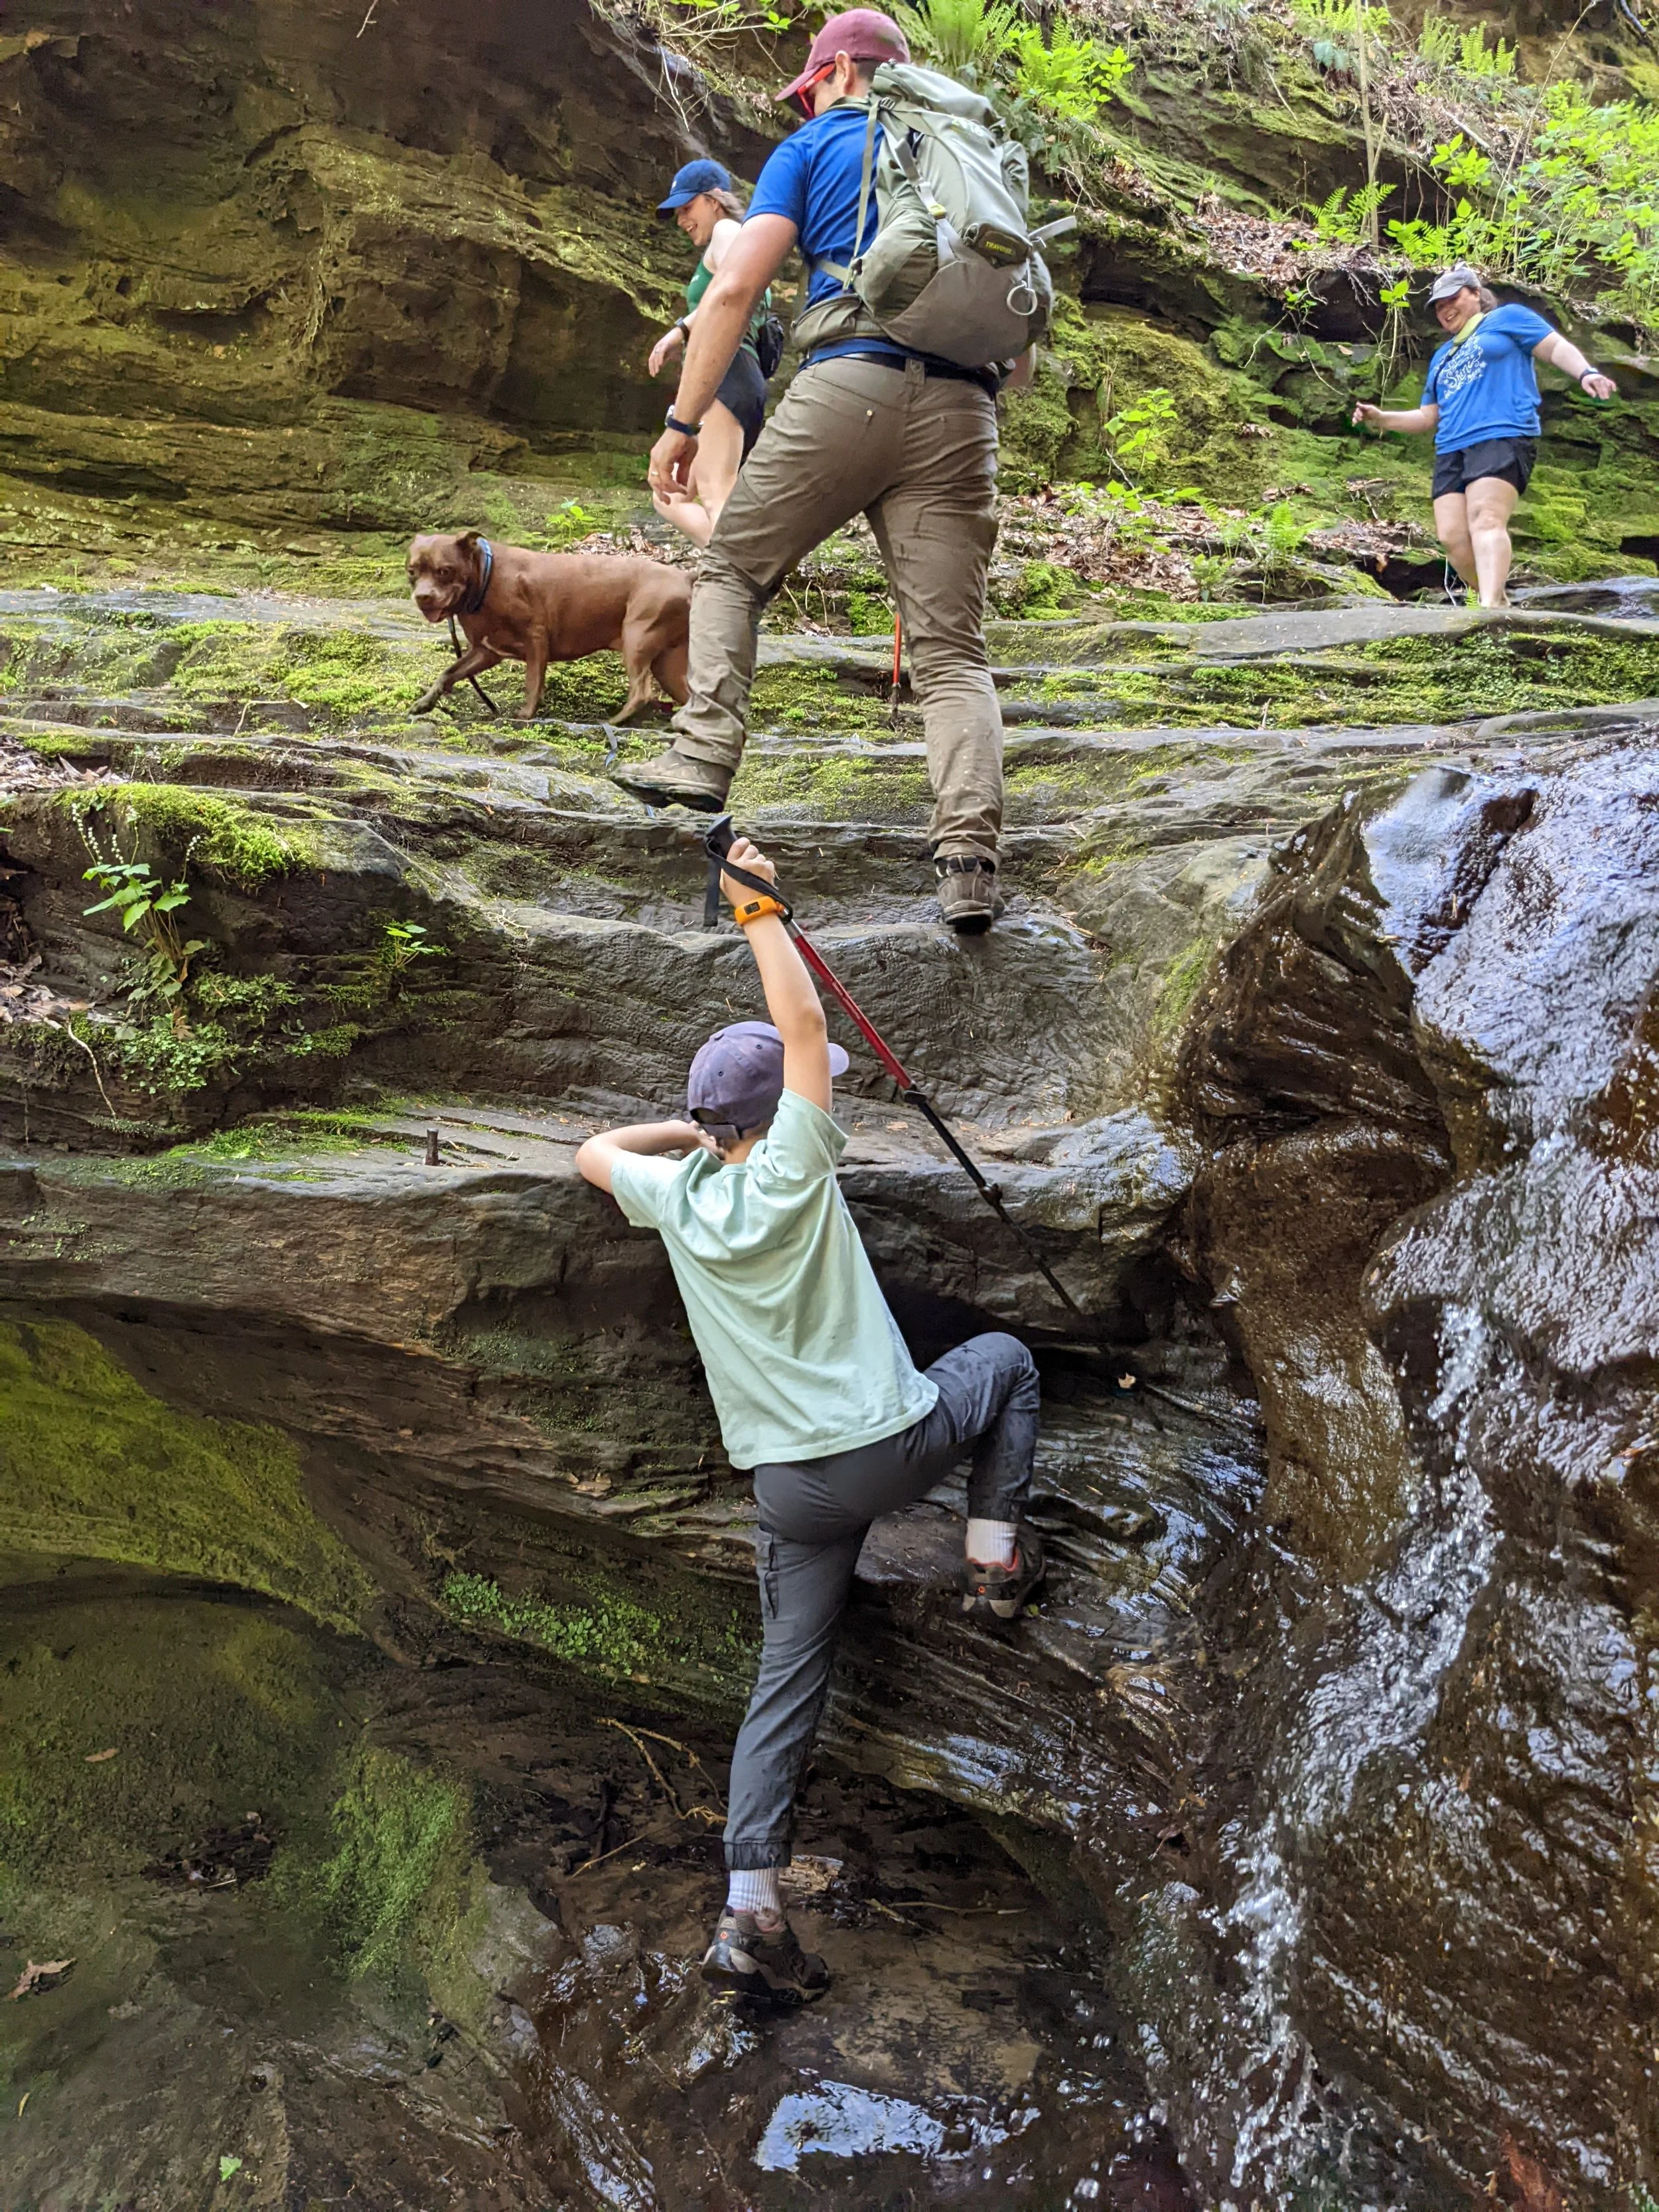
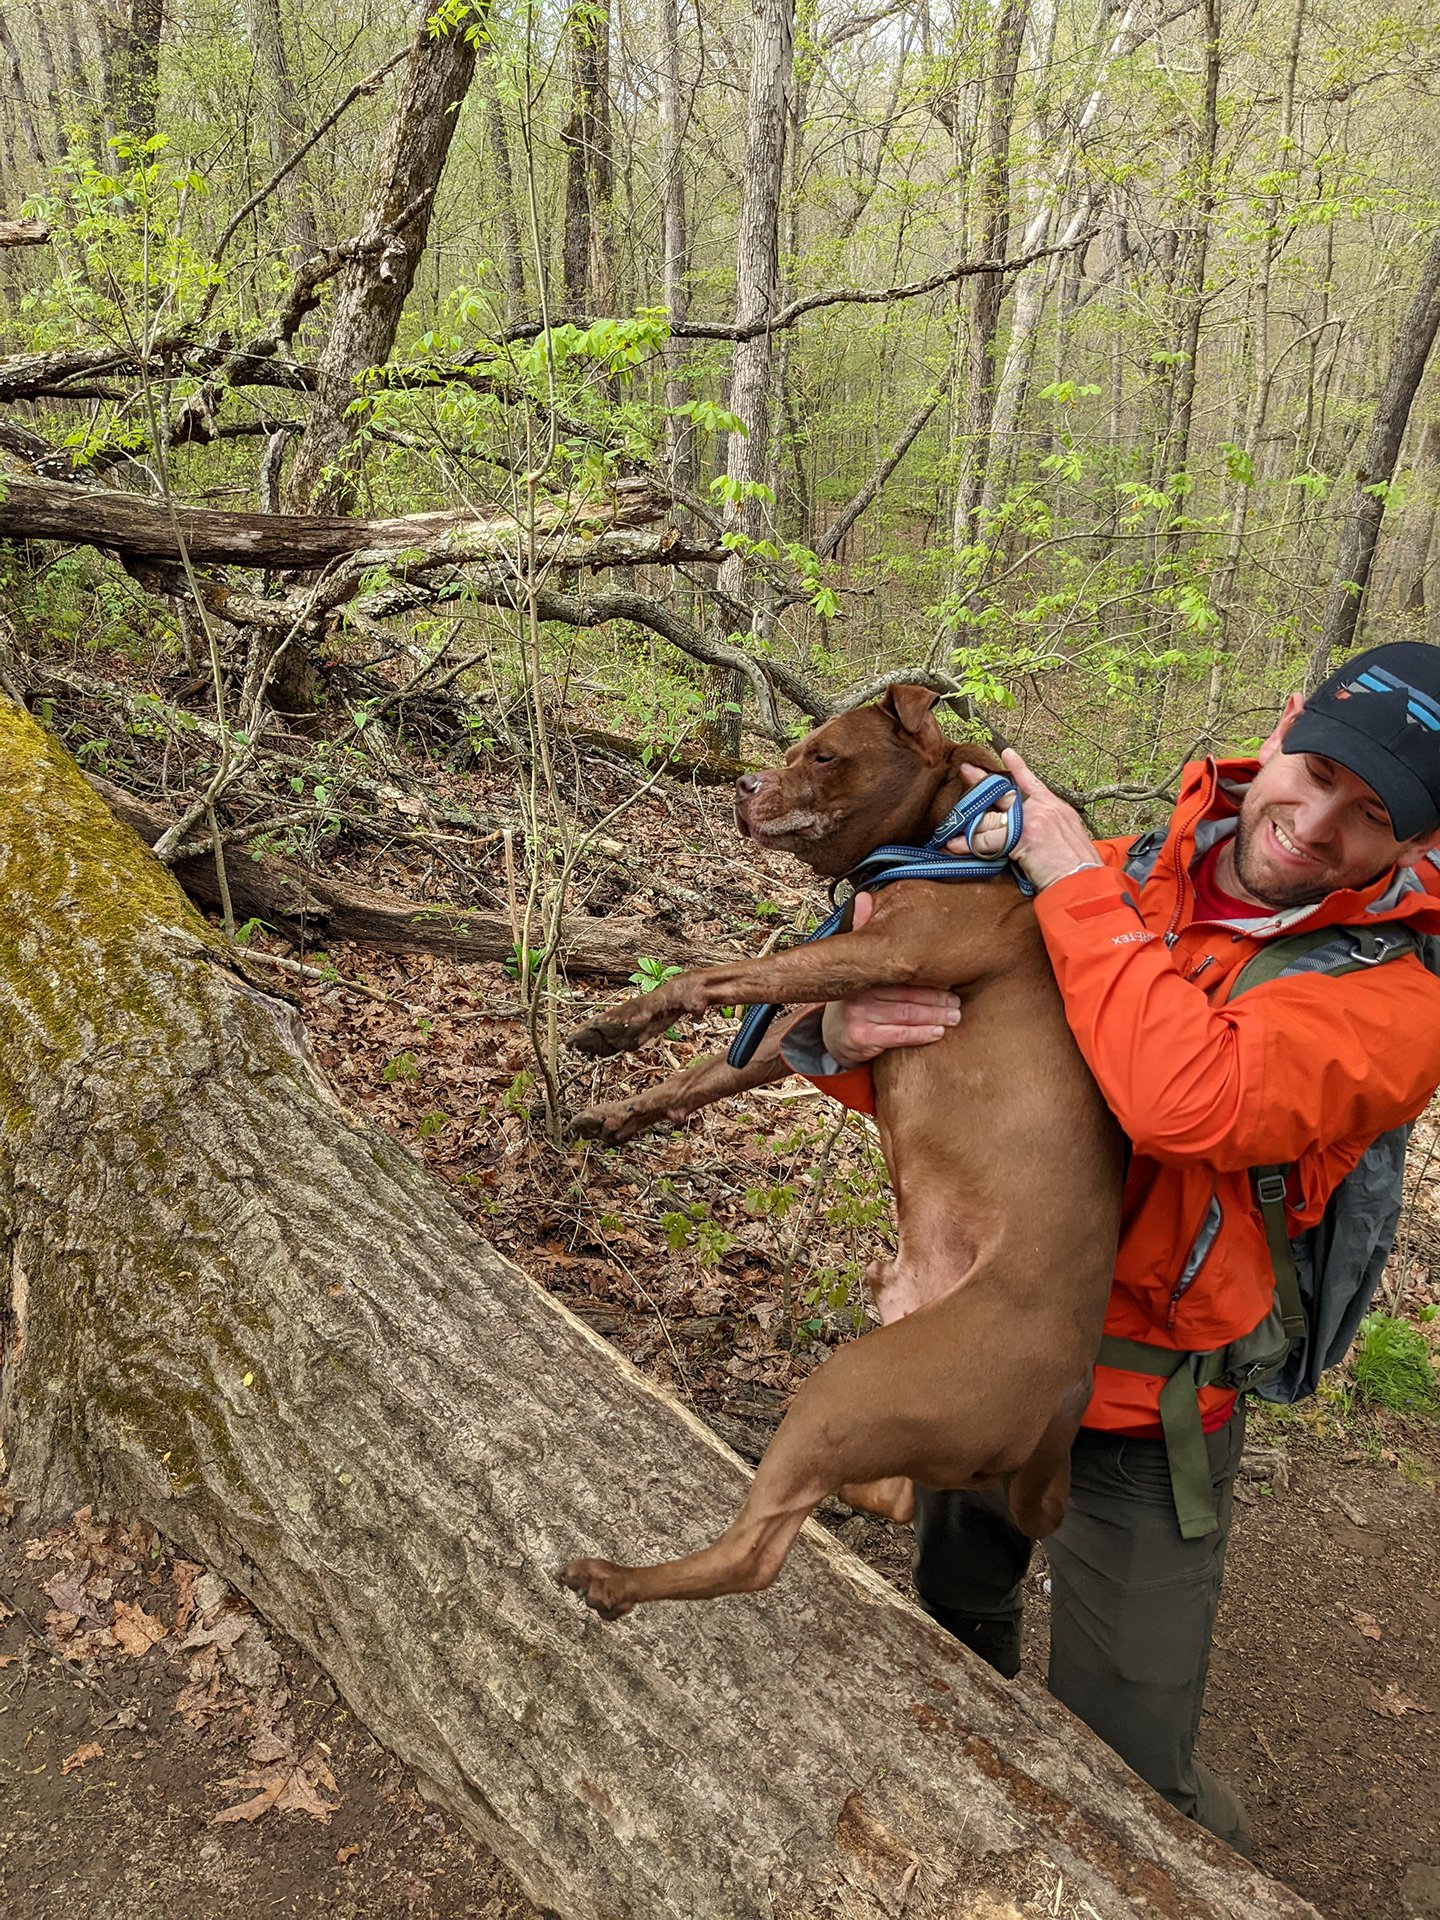
The waterfall that we did second (we went counterclockwise) definitely had a part that you had to climb straight up - totally doable even for our 8 year old son, though our pit bull Wade was not a fan of that part… and lifting a wiggly 60lb pit while standing on a little ledge did pose a challenge. If you go clockwise, you’ll be climbing down that part.
It’s tough to say how going up the waterfall that we did first (climbed down) would be - I felt like that one was a longer portion of the hike (some of the most magical scenery I’ve ever hiked through) and we did have some moments where we had to climb down, but I don’t think that anything was as steep as that moment that I mentioned on the waterfall that we did second.
Take all of that information and make your own decision on which direction to take this hike.
NOTE: the waterfalls are slick. I had 2 trekking poles with me for extra support. Also, I recommend hiking shoes that can get wet - between the two waterfalls and some stream crossings on the canyon floor, there are plenty of opportunities to accidently or in some cases purposely get your feet wet.
I’ll break the photos from this hike up into 3 parts so you can see the terrain for yourself: Going counterclockwise, the first waterfall (the first photo is looking ahead, the rest of the photos are looking behind me, back up the waterfall), the canyon floor, the second waterfall.


Day 2: Second stop - Pomona Natural Bridge
Hike we did:
Pomona Natural Bridge (0.3 miles - moderate)
Pomona Natural Bridge
0.3 miles, moderate
This short trail is nearby the Little Grand Canyon trail - you’ll still need to drive from one trailhead to the next, but the drive isn’t far. The highlight of this trail is a natural bridge that you can walk both over and under.


Day 2: Third stop - Cache River State Natural Area
Hikes we did:
Heron Pond Boardwalk (1.5 miles - easy), day 2
State Champion Cherrybark Oak (unsure of exact mileage), day 2
There’s only one map of the area - it made more sense to me after talking to the ranger at the Visitor’s Center.

Heron Pond Boardwalk & State Champion Cherrybark Oak
1.5+ miles, easy
Both of these hikes start at the same trailhead and eventually split away from each other - to the right, if you walk down a ways, you’ll come upon the State Champion Cherrybark Oak tree (we’re unsure of the exact mileage, it was definitely longer than we were expecting, but not terribly long, maybe between 0.5 miles and 1 mile… time warps itself when you have a child who is whining - Luke was so excited about the boardwalk that he didn’t care to see the massive Cherrybark Oak). Eventually we found the oak - it was, as we expected, very large.
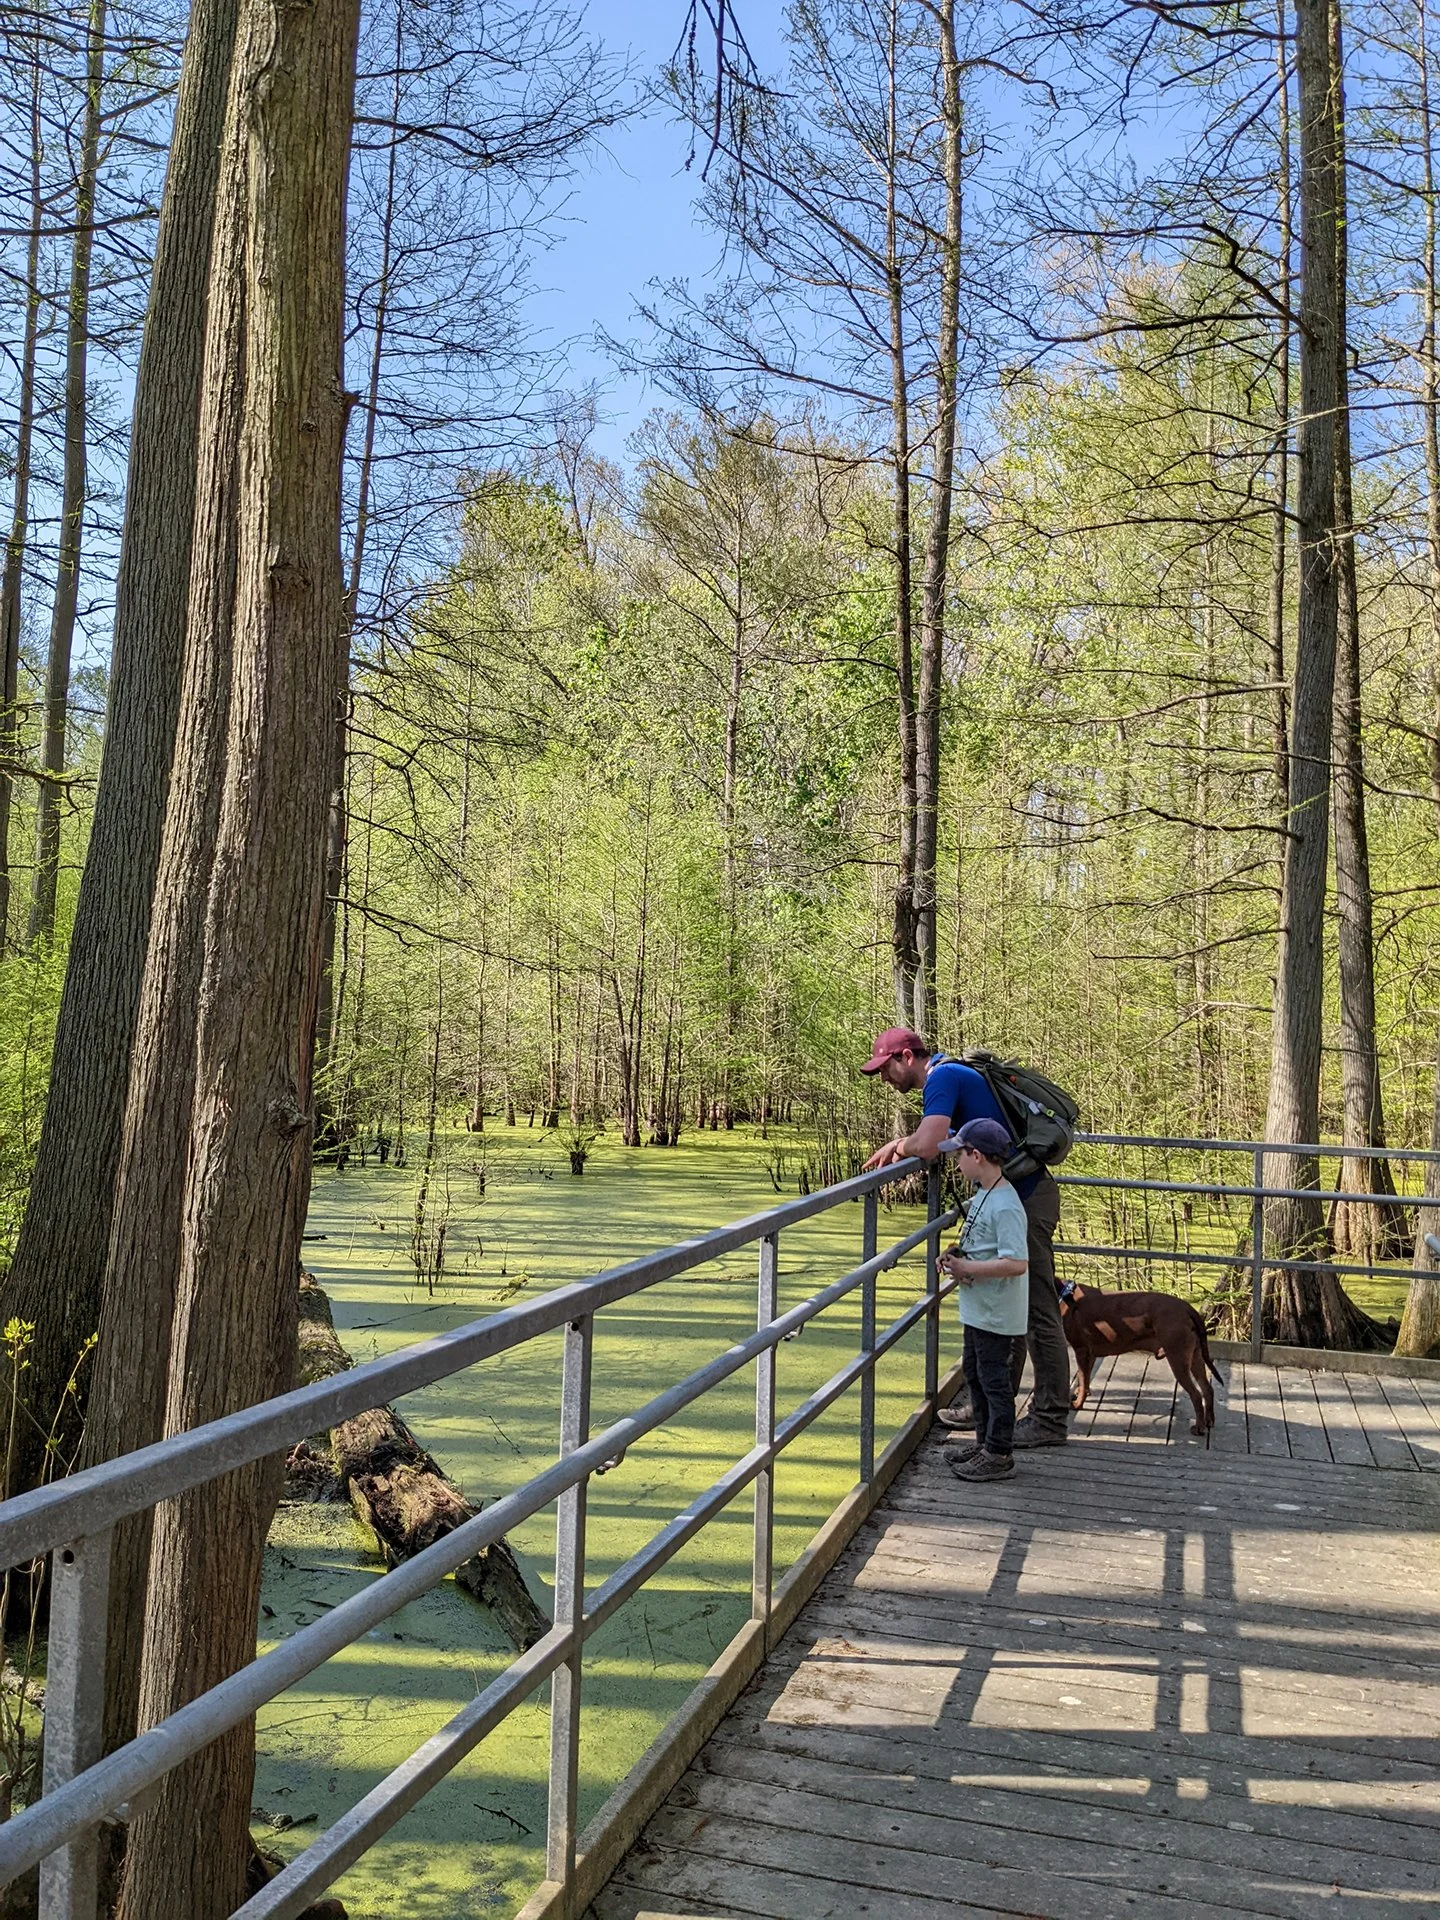
If you go to the left when the path splits, it’ll take you directly to the Heron Pond Boardwalk (or in our case, we hiked back down the path from the State Champion Cherrybark Oak and then turned onto the boardwalk trail when we came back to where the trails split.
The boardwalk is out of this world. We were fortunate enough to be there at the same time as a man who worked for the Department of Natural Services, so whenever we came upon an animal, he’d identify it for us! There were snakes, snake trails, and frogs.


Day 2: Fourth stop - Illinois Iron Furnace (National Historic Site)
On our way home (the cabin) from the Cache River State Natural Area we stopped at the Illinois Iron Furnace. Apparently there can be a hike involved if you park in a different parking area, and we’d planned for that - but the parking area that we found ourselves in was right next to the furnace - which was totally fine with us, we’d already had an action packed day. The structure is impressive and you can walk all the way up to it and explore the land around it. I wouldn’t make it anything more than a stop en route to somewhere else though - we maybe spent 20 minutes there. The signage is very informational - graphics show how the iron furnace was used - and also inform the reader that this is a replica, if memory serves, the original had been taken down for parts.


Day 3: First stop - Shawnee National Forest Garden of the Gods
Hike we did:
Observation Trail (0.25 miles, easy)
Garden of the Gods
0.25 miles, easy
GO EARLY. I’ll say it louder for those in the back… go. early. Garden of the Gods is THE big attraction in Southern Illinois/Shawnee National Forest - heck the US Mint even featured it on one of the America the Beautiful quarters (those came after they finished the State quarters). We went around 8:30 a.m. and weren’t the first people there, but could still snap photos without other people in the frame - by the time we left at 9:30 a.m. (we sat and sketched for a little bit as well as thoroughly explored the various rock formations) it was significantly more crowded. And this was in April, the off-season. It’s as beautiful as you expect it to be, I’m glad we went, but I cannot imagine going mid-morning or early-afternoon during summer vacation. I will say, it wasn’t the highlight of our trip - we were definitely more enchanted by the Cache River boardwalk and Little Grand Canyon - but Garden of the Gods is pretty iconic to Shawnee National Forest, so definitely carve out an hour to go visit.


Day 3: Second stop - Cave-in-Rock State Park
Hike we did:
Walk from parking lot to the cave, there are stairs and sand
This is a really funky place - it’s on the Ohio River, right outside the cave is the river. In fact, lore has it that pirates and other degenerates used to use this cave as a hideout. After exploring it, it’s easy to see why. This cave isn’t that deep, we went all the way to the back. It’s damp (obviously). There’s actually an opening in the ceiling of the cave that lets in some light at the back. Personally, I found the most charming part of it was the birds nests built into the rocks surrounding the outside of the mouth of the cave.


Day 3: Third stop - Back to Cache River State Natural Area
We enjoyed this location - so we came back here at the end of day 3 when we’d checked everything else off of our trip must-see list. The Visitor’s Center is nice, the short film was very informative, and we found it worth watching - it tells of the history and significance of the area. Since there was nobody else around, the range on-sight allowed Wade to come inside.
Additional hikes we did:
Various short trails and boardwalks around the Visitor’s Center, day 3
State Champion Bald Cypress (250 feet - easy), day 3
State Champion Water Tupelo (475 feet - easy), day 3
There’s only one map of the area - it made more sense to me after talking to the ranger at the Visitor’s Center.
I wouldn’t say that what we did at Cache River State Natural Area on day 3 was imperative - the short trails and boardwalks around the Visitor’s Center had some informative signage. (Below)

When we went to see the State Champion Bald Cypress - we couldn’t figure out which tree was the state champion, none of them seemed larger than the rest. It looks like you might be able to canoe through this area - that might be interesting. (Below)

Sadly, the State Champion Water Tupelo tree feel down in a storm some years ago - but you can still see it laying down. The overall vibe of the area/boardwalk surrounding the former State Campion Water Tupelo is very Dagobah from Star Wars. (Below)


Day 3: Fourth stop - Shawnee National Forest Burden Falls Wilderness
Hike we did:
Burden Falls Loop - since this was a spur of the moment decision and service in the National Forest can be sparce… we did this trail without a map (which for the record, I found VERY stressful). The internet informs me that the trail is 1.2 miles out and back. I would say that it is between moderate and strenuous as there is a water crossing, there was a downed tree on a steep portion of the trail, descending and ascending into a canyon, and some slick surfaces.
Note: The waterfalls near the parking lot are not Burden Falls
Burden Falls Loop
1.2 miles* out and back
The asterisks is because when we were visiting, there was a portion of the loop trail that was closed. Some people were scaling the rocks near the waterfall to complete the loop and going around the yellow caution tape. We opted not to do that (I especially wouldn’t recommend it because we came across someone in the parking lot who had done it with his wife and kids and he said in hindsight he wouldn’t have done it that way. Instead of connecting the loop, we turned around and hiked back the way that we came after we saw the falls from the ground level (you’ll see it from above during an earlier part of the hike).


Day 4: Headed home
We weren’t sure how long each excursion was going to take us, so initially we thought we’d be hiking a little more during the morning on Day 4 before heading home. Thankfully we had already accomplished everything that we set out to do - and since we woke up to pouring rain, we decided to head home.
Additional resources:
I found my dad’s old copy of the book “20 Day Trips in and Around the Shawnee National Forest” incredibly useful in planning this trip. There’s actually a ton to do in and around Shawnee National Forest, and this book does a great job of grouping nearby activities together. This link above is for the book via my Bookshop.org page - it’s currently on backorder there, but other websites that I like to shop before resorting to Amazon are thriftbooks.com and betterworldbooks.com.
My go-to app and website for hiking, especially for trails that aren’t well marked is AllTrails (definitely use it for the Burden Falls hike, I wish I had looked into it on the app while I had reception before driving too far into the forest). Personally, I pay for the pro account, it’s about $30/year and I find it very useful - not just for routes, but also for looking up trail conditions. Members often review trails after they’ve hiked them and mention if it’s particularly muddy, if there’s an obstruction, how the bugs are, etc - so I like to look up reviews from within the past few days/weeks as well as during the same month the previous year.